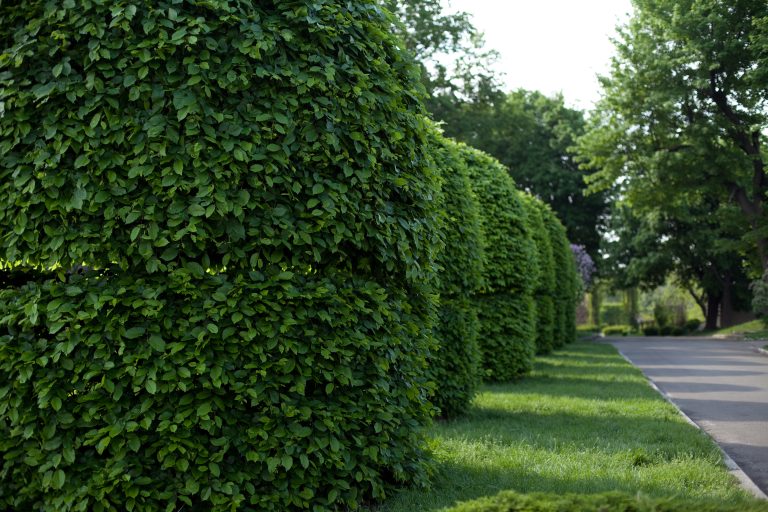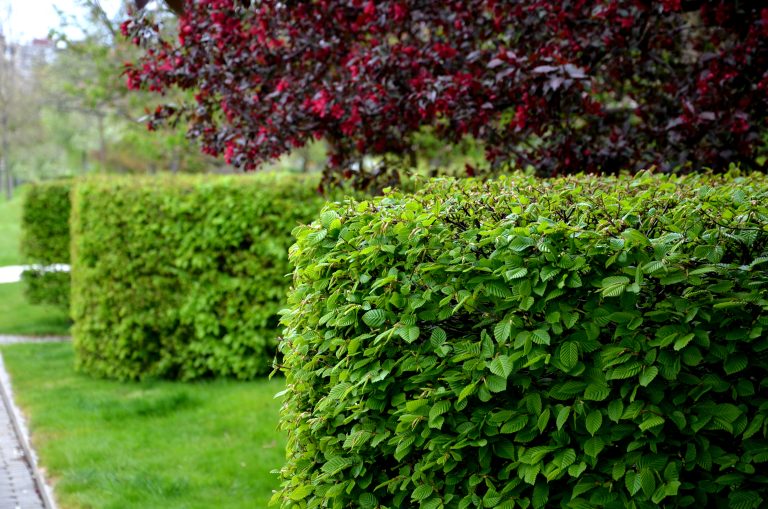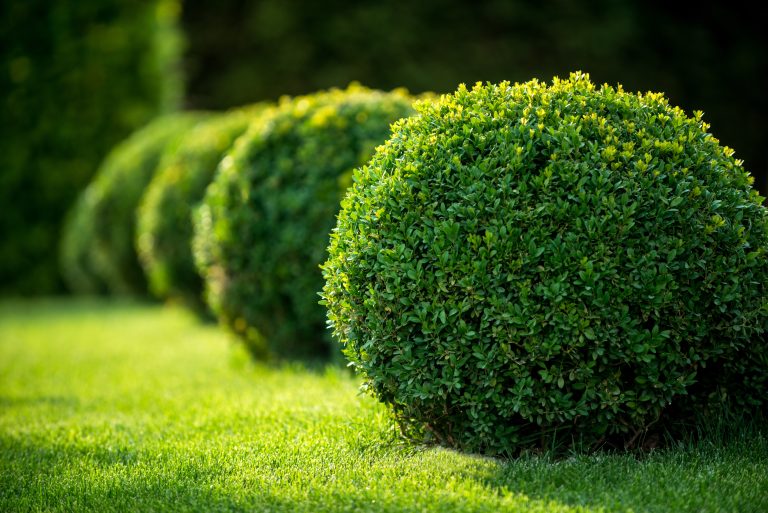
Congratulations on your purchase of one or more standard trees. Whether you are creating a beautiful avenue or an impressive
entrance, we advise you to carefully read and follow the instructions in this guide.
Standard Tree
Our Goliath (standard trees) are pruned on a high stem, approximately 2 meters, with a developed crown. The tree has been transplanted three times to achieve concentrated root development close to the tree and a well-branched crown. The tree is grown in open ground and delivered bare-rooted, which means there is no soil around the roots. This makes the tree easier to both transport and plant.
When you receive your standard tree
Once the tree has been delivered to your home, you will need to look after it and prepare it for planting. Whilst waiting to be planted, the standard tree must be kept in a sheltered spot; it is best to place it under a tarpaulin in a damp, shady spot. If it takes longer than a couple of days before planting can take place, the soil will need to be prepared.
This is how the tree looks upon delivery – this is completely normal!
Upon delivery, your tree may appear almost dead, but rest assured, it is not. The tree is defoliated because it has been dormant and the root system is completely without soil. As soon as the tree is placed in the ground, it immediately begins to come back to life. Just have a little patience!
- Prepare the planting hole. Dig a planting hole at least 60 cm wide and 60–70 cm deep. Loosen the soil and improve it with potting compost, both in the hole and around it.
- Water the planting hole Water the planting hole thoroughly before planting the tree so that the roots get a good start.
- Plant at the correct depth Place the tree so that the root ball is a few centimeters below ground level. Keep in mind that the soil will settle – the tree must not be planted too deep.
- Fill in and stabilize Place the tree straight, fill in with planting soil, and gently shake the tree so that the soil comes into contact with the roots. Then lightly tamp down the soil around the trunk.
- Install tree support Drive in one or two tree supports that reach up to the lower edge of the crown. Preferably place the support in the prevailing wind direction, usually from the southwest.
- Tie up the tree Secure the tree with tree ties. Ensure that the ties and tree support are not too close to the trunk and risk chafing.
- Water thoroughly Give the tree a thorough root soaking immediately after planting, preferably in several rounds. Add more planting soil if the ground sinks.
- Care after planting Keep the area around the tree free from grass and weeds during the first years. Once the tree is established, the tree supports can be removed.
Pruning standard trees
Not all trees need to be pruned. But sometimes you need to prune, for example, older trees that have started to look worse, have grown too large, or have branches growing toward the crown. Always make the cut above an outward-facing shoot or branch.
If the branches are thick, it is important to first saw a cut on the underside and then saw from above a bit outside the undercut. Pruning of most trees is done in late winter, except for varieties that bleed easily, such as Acer, Betula, and Juglans, which are pruned in autumn.
You should have pruning shears, loppers, a small knife (for cutting clean edges), and a saw at home for successful pruning.